Disclosure: This post contains affiliate links. If you make a purchase, we may earn a commission at no extra cost to you.
Sooner or later, a 10W owner cutting 3 mm plywood asks the question: would a 20W laser fix the slow cuts, the extra passes and the scorched edges? Sometimes yes. Sometimes the real culprit is focus, airflow or the wood itself. This article explains what a higher-power module changes, what stays the same, and how to measure the difference on your own machine. It is based on published specs, reviews and user reports. We have not bench-tested these lasers ourselves, and where a figure comes from one source we say so.
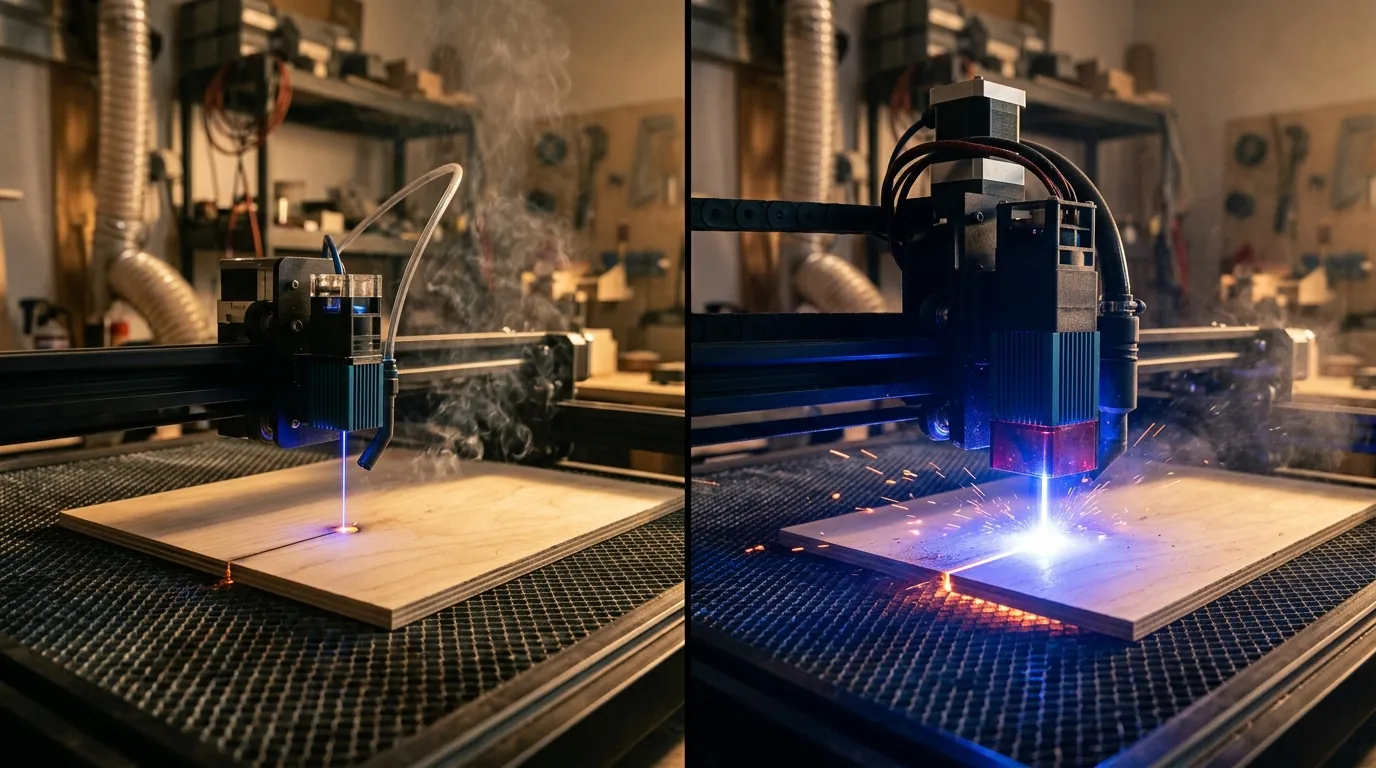
Short answer: 20W helps most if you cut plywood of 4 to 6 mm and thicker, or run big batches and want fewer passes. The speed gain is rarely exactly double. Engraving fine detail does not improve just because power goes up, and at higher power airflow and ventilation matter more.
How diode modules reach higher power
Hobby diode modules at the higher power levels generally combine several smaller laser emitters into one beam. One published comparison states that the xTool D1 Pro 20W uses four 5W lasers, while the Atomstack X20 Pro uses four 6W lasers. Two machines with the same “20W” label can therefore be built differently, which is one reason the label alone does not predict how a laser cuts. Spot size also differs between models, so look up the specification of the exact module you are considering instead of assuming a figure from its wattage.
What changes: cutting speed and passes
More power lets you move faster or cut in fewer passes, but not in a neat 1:2 ratio. In one LightBurn forum report on 2.7 mm basswood plywood, a 10W laser cut cleanly at 456 mm/min, and a module labelled 24W reached 611 mm/min at its maximum. The poster estimated the stronger module’s useful power at about 14.5W. That is one user’s test, not a rule, but it shows why you should expect less than a straight doubling, especially at the budget end.
What changes: how thick you can go
Manufacturers publish maximum cutting depths on basswood plywood. A published comparison lists these claims:
| Machine | Claimed maximum depth, basswood plywood |
|---|---|
| xTool D1 Pro 10W | 6 mm |
| xTool D1 Pro 20W | 10 mm |
| Atomstack X7 Pro (10W) | 8 mm |
| Atomstack X20 Pro (20W) | 18 mm |
These are best-case maker claims on a soft wood. Plywood with dense glue lines, such as birch, usually cuts shallower or needs more passes, so use these numbers to compare machines, not to plan a project.
What does not improve: fine engraving detail
Fine detail depends mostly on spot size and your settings, not on watts. A stronger module simply lets you run engraving at a lower power percentage. Published spot-size figures vary from model to model, so check the spec for the exact module and test your line-scan settings on scrap before assuming either machine is sharper.
Smoke, soot and fire risk
Higher power vaporizes wood faster, which produces more smoke and resin in the same time. The TTS-20 Pro reviewer we cite reported that the lens became dirty after only a few uses, which caused scorching and cuts that did not go through until he cleaned the lens and the one beneath it. Whatever the wattage, plan for:
- Air assist running for every cut.
- Ventilation that moves fumes outdoors.
- Regular lens cleaning.
- Eye protection rated for 450 nm blue light, and a fire extinguisher within reach.
- Never leaving a running laser unattended.
Power supply and upgrades
Higher-power modules draw more current, so the power supply and controller must be rated for them. The CNX Software review lists a 24V DC input for the TTS-20 Pro. Some manufacturers sell different power modules for the same frame, and others do not, so check the documentation for your exact model before you buy a replacement module.
What does not change: acrylic and wavelength
Both 10W and 20W diode modules emit 450 nm blue light. Clear and blue acrylic let that light through instead of absorbing it, so neither power level cuts them. Dark, opaque acrylic does absorb the light and can be cut by a diode laser. For clear acrylic you need a CO2 laser.
Run your own test on scrap
You will learn more from one hour of testing than from any table. Here is a simple procedure:
- Cut a few small squares from the same sheet of plywood you plan to use.
- Switch on air assist and set focus carefully with the focus tool your machine supplies.
- In LightBurn, open the Material Test tool (Laser Tools menu) and build a grid of speed versus power. Other software has similar tools.
- Keep power at 100% for cutting and step the speed up until the squares stop releasing cleanly.
- Repeat with two passes at a higher speed and compare edge quality and total time.
- Write down the best settings for each material batch. Glue and moisture change from sheet to sheet.
| Speed (mm/min) | Passes | Cut through? | Edge notes |
|---|---|---|---|
Which one fits your situation
| Your situation | Where it points |
|---|---|
| Mostly engraving, thin material (1.5 to 3 mm) | 10W is usually enough. |
| Regular 3 mm plywood batches | 10W works with patience and some extra passes. 20W saves time. |
| Frequent 6 mm plywood or thicker | A 20W class module or a CO2 laser. Look for independent cut tests on birch plywood. |
| Clear acrylic | CO2 laser, not a diode. |
| Small room without ventilation | Fix ventilation before you buy more power. |
Frequently asked questions
Is a 20W laser twice as fast as a 10W laser?
Usually not. The forum report above saw roughly a 1.3 times speed gain between a 10W laser and a module labelled 24W. Real gains depend on the module, the wood and the focus, so measure them on your machine.
Can a 10W diode laser cut 6 mm plywood?
A manufacturer claims 6 mm on basswood plywood for the D1 Pro 10W. Birch plywood is harder, and you should expect several passes and some charring. Test on scrap first.
Do I need air assist with a 10W laser?
Yes. Air assist clears smoke from the cut, protects the lens and reduces flare-ups, and it matters at every power level.
Sources
- xTool vs Atomstack, CNCSourced
- Recent 24 watt diode laser engraver seems to be putting out 14.5 watts on materials test, LightBurn forum
- Two Trees TTS-20 Pro 20W laser engraver review, The Gadgeteer
- TTS-20 Pro laser engraver review, CNX Software