Disclosure: This post contains affiliate links. If you make a purchase, we may earn a commission at no extra cost to you.
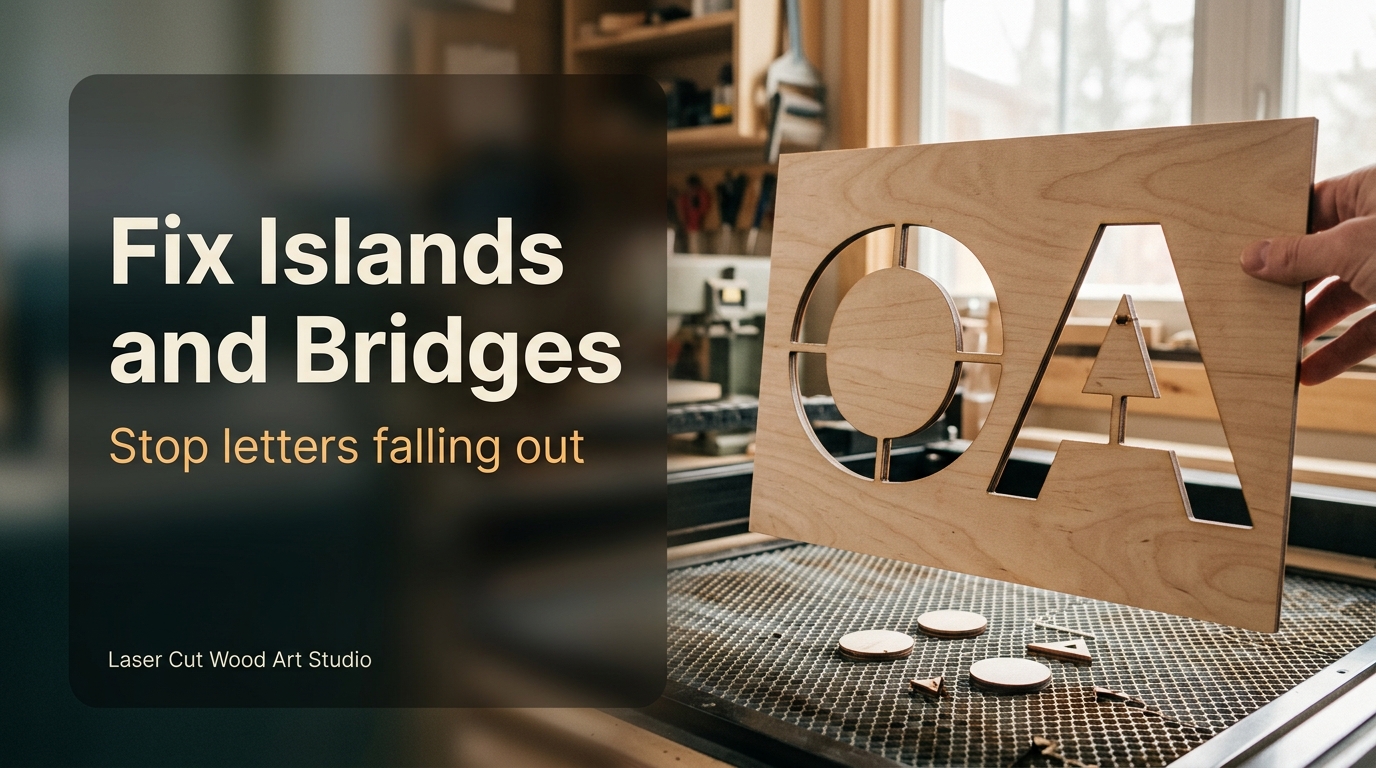
You spend hours designing an intricate personalized wooden name sign or an industrial stencil. You send the SVG vector file to your laser cutter, wait for the job to finish, and lift the plywood sheet off the honeycomb bed.
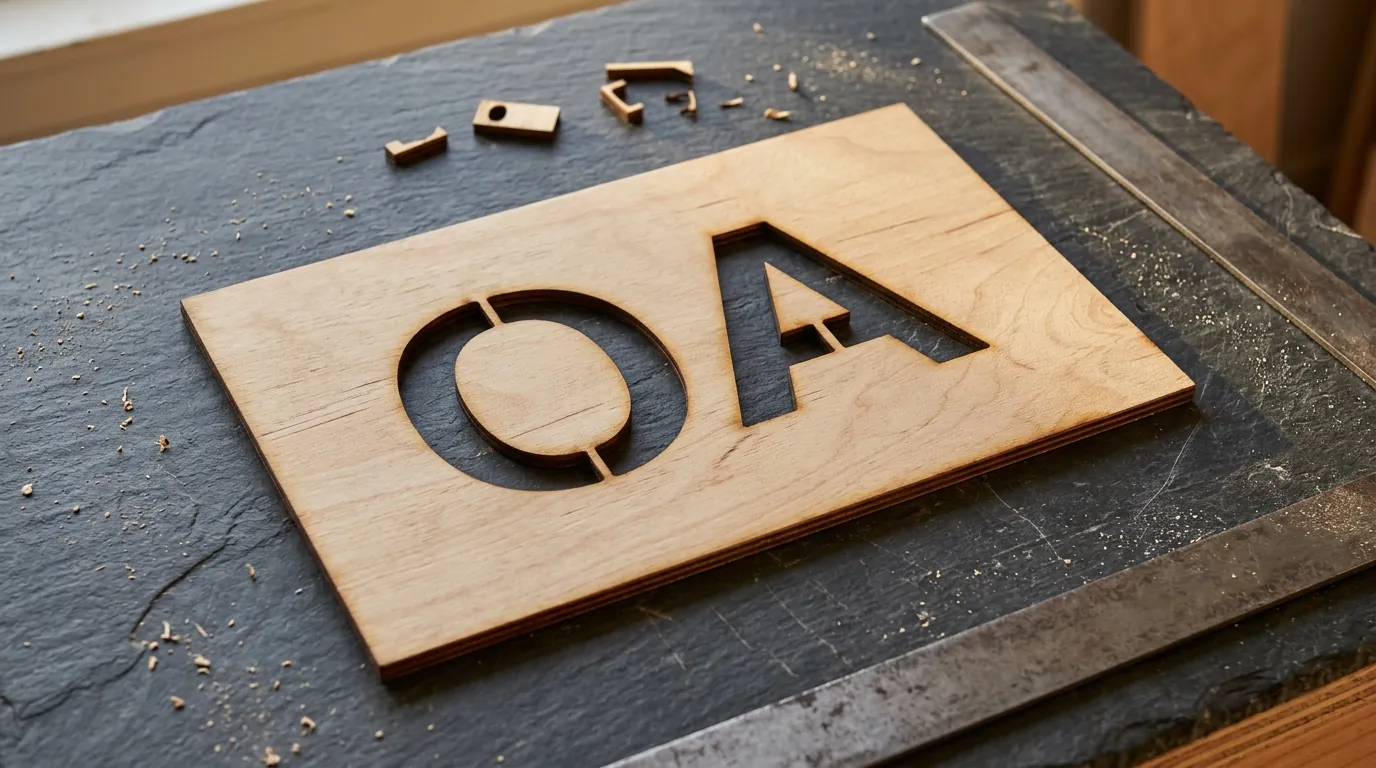
Instead of a clean, readable sign, you find hollowed-out disasters. The centers of the letters O, B, A, P, and D fell right through into the waste tray below. What was supposed to be an elegant letter O is now an empty circular hole, and the loop of the letter P vanished into thin air.
Beginners call this a ruined cut. Typographers and CNC machinists call it the island and dropout trap.
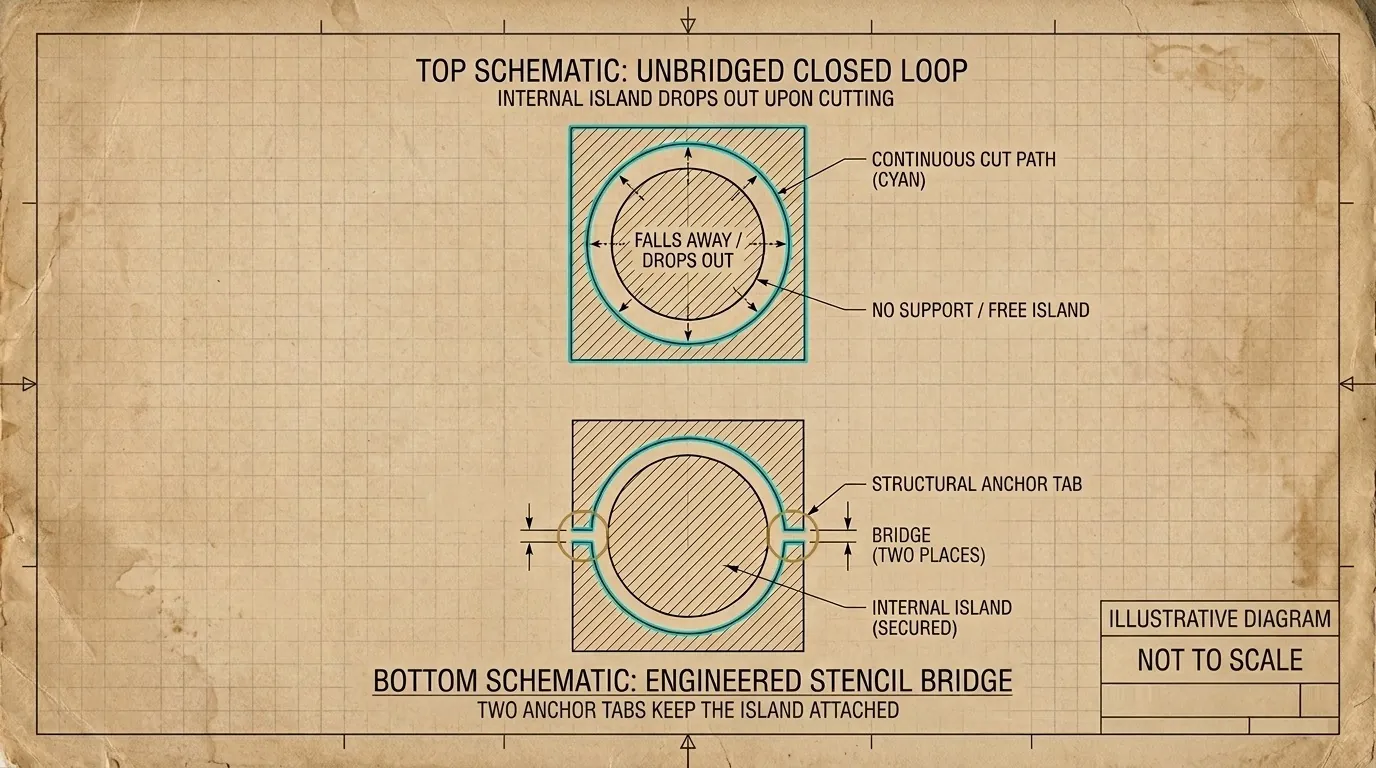
When a laser cuts along a closed internal vector path, it completely severs that piece of wood from the surrounding sheet. If that inner geometry is not tethered to the main body by structural tabs (bridges), gravity takes over. The loose center (an island) drops straight through the honeycomb grid.
To produce legible cut-through signs, custom stencils, and layered wood art, you must master the fundamental distinction between cutting, scoring, and engraving, and know how to bridge your vector geometry in LightBurn, Illustrator, and xTool Creative Space.
Understanding the Three Processing Modes
Before modifying vector nodes, understand how your laser interacts with vector and raster data:
| Processing Mode | Machine Motion | Penetration Depth | Island Dropout Risk |
|---|---|---|---|
| Through-Cut (Line) | Continuous vector path (High power, low speed) | Cuts all the way through the material | High (Closed internal loops fall out) |
| Vector Score (Line) | Continuous vector path (Low power, high speed) | 0.1 mm – 0.3 mm surface line marking | Zero (Substrate remains intact) |
| Raster Engrave (Fill) | Bi-directional raster scanning sweep | 0.2 mm – 0.8 mm surface vaporization | Zero (Vaporizes filled areas only) |
Through-cutting creates perimeter silhouettes. Line scoring is ideal for delicate decorative outlines because it is usually much faster than raster engraving. Raster engraving is optimal for solid filled lettering, logos, and photographic portraits where the core substrate must remain intact.
The Golden Rule of Cut-Through Typography: Stencil Bridges
If your project requires cutting completely through the board (such as architectural room numbers, hanging door signs, or spray paint stencils), you cannot use standard commercial fonts without modification.
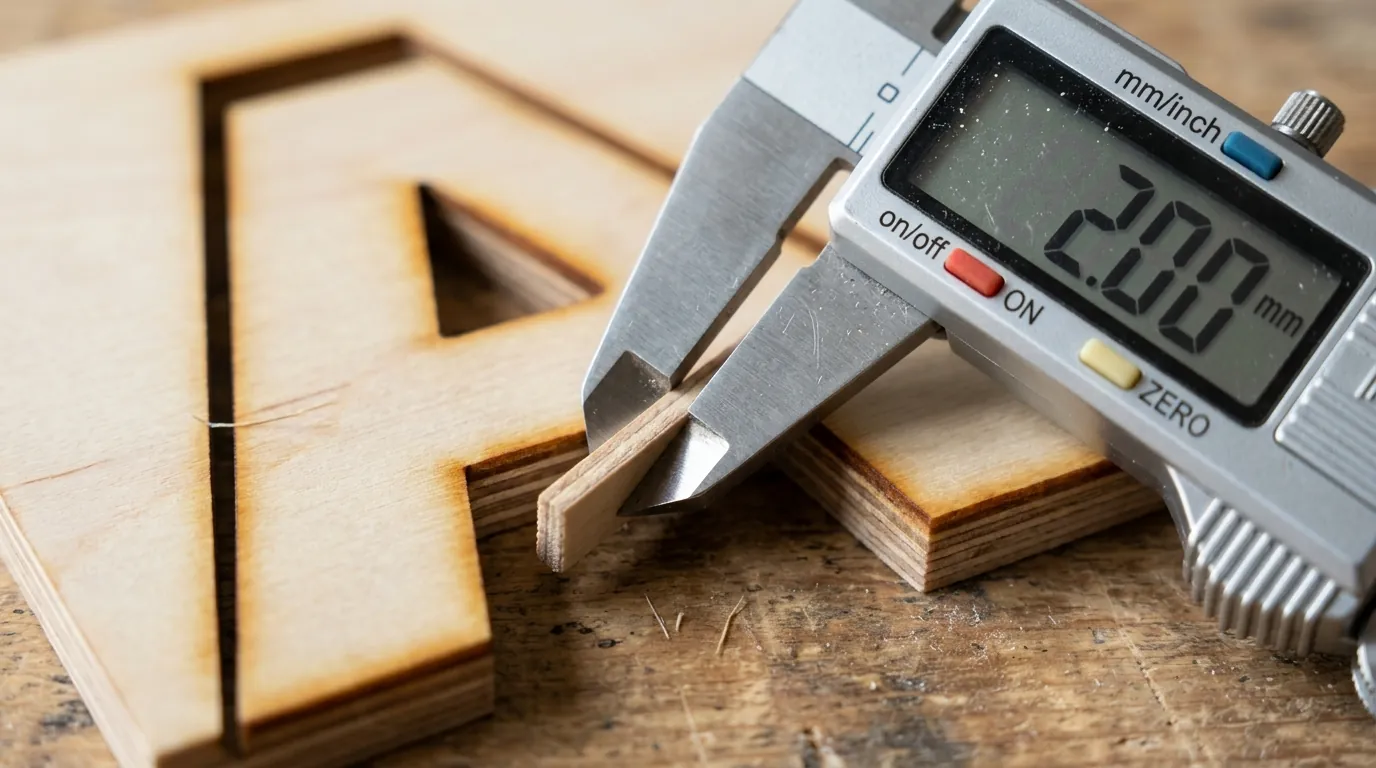
Every letterform with an enclosed counter (A, B, D, O, P, Q, R, 0, 4, 6, 8, 9) will lose its center. You must convert these closed counters into anchored peninsulas using bridges.
Use these common starting points for bridge width, and test on scrap before a full run:
- 3 mm Baltic Birch: A common starting bridge width is about 2 mm. Thinner bridges can break when sanded or wiped with stain.
- 6 mm Plywood or MDF: Try 2.5 mm or more so the bridge resists finger pressure.
- 1.5 mm Aircraft Plywood: Bridges can often be narrower, but test a sample first.
- Acrylic (3 mm): Start around 2 mm and test, since acrylic can crack.
How to Fix Letter Dropouts in LightBurn (Step-by-Step)
LightBurn provides the fastest workflow for bridging vector typography without leaving your laser controller software.
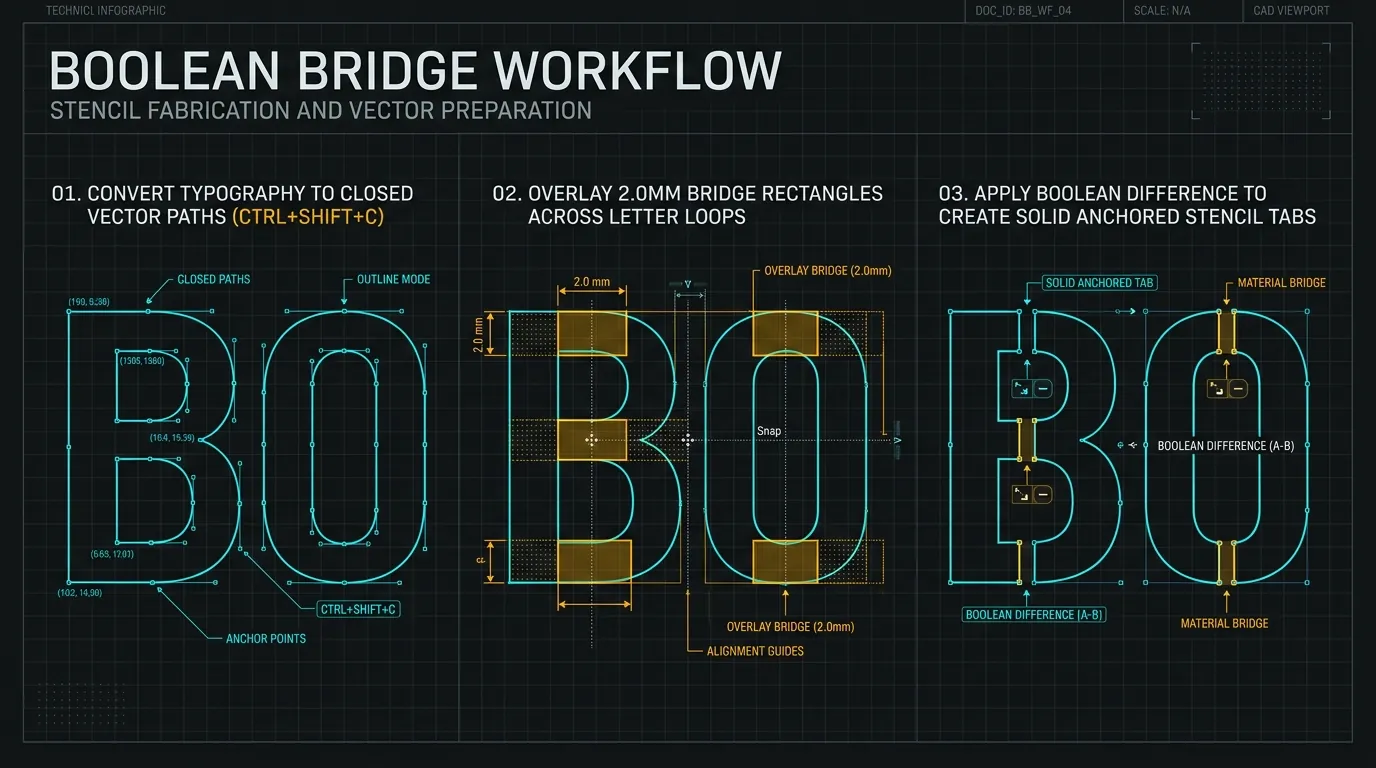
- Convert Text to Vector Paths: Type your label, choose your font, and highlight the text block. Click Tools → Convert to Path. Once converted, the text is no longer editable typography; it becomes native vector geometry consisting of nodes and bezier curves.
- Draw a Bridge Rectangle: Select the Rectangle tool. Draw a thin rectangle across the gap you want to create (for example, vertically through the top and bottom of the letter O). Set the rectangle width to your target bridge dimension (e.g.,
2.0 mm). - Execute Boolean Subtraction: Select the converted letter path first, hold
Shift, and select the bridge rectangle second. Go to the left Boolean toolbar and click Boolean Difference. LightBurn instantly subtracts the rectangle from the letter, creating two clean bridges that anchor the center island to the surrounding wood panel. - Alternative: Node Editing for Curved Shapes: For delicate organic script lettering, select the Node Edit tool. Place a break in the vector stroke where you want a bridge. Insert connecting bridge vectors, select the endpoints, and join them into a continuous cut loop.
Software note: Several laser programs can add bridges or tabs to text. Check what your software supports, or use a stencil font.
The Hybrid Technique: Score Lines Inside Cut Silhouettes
You do not always have to turn your elegant script typography into a military-style stencil. The hybrid method preserves the flowing beauty of script fonts while maintaining structural strength.
Here is how to execute the hybrid workflow:
- Outer Silhouette (Cut Layer): Select your connected script text and create an outward offset of +3.0 mm using the Offset Shapes tool. Assign this outer boundary to a Black Through-Cut layer.
- Inner Lettering (Score / Engrave Layer): Keep the original vector lettering inside the perimeter and assign it to a Blue Vector Score layer (low power, high speed) or a Red Raster Engrave layer.
- The Structural Result: The laser cuts the solid backer silhouette as one continuous, unbroken wooden plaque. The laser then scores or engraves the letters and their delicate counters onto the front face. The centers of the letters never drop out because they are physically supported by the full thickness of the backer wood.
Troubleshooting Common Vector Cut Errors
1. The “Cut Within a Cut” Nightmare
If you import a vector traced from a low-resolution bitmap logo, you may have double-concentric paths on the same layer. The laser cuts the outer contour, then immediately cuts the inner contour, leaving paper-thin wood strips that ignite under the air assist jet.
The Fix: Switch your software view to Wireframe mode. Ungroup all paths and delete interior duplicates before sending the job to the machine.
2. Fragile Pointed Peninsulas
When bridging curved letters like S, C, or G, avoid leaving long, unsupported tapered fingers. Thin wood fingers can warp with changes in moisture. Always terminate bridges with a perpendicular cross-grain orientation.
3. Unintended Dropouts on Multilayer 3D Art
In complex multilayer mandalas, cutting a full through-line on layer 3 can accidentally drop a massive section of layer 4 out of sight.
The Fix: Stack your vector layers in your design software and assign distinct colors to each level. Toggle layer visibility one by one to verify that every cut path is anchored to a continuous outer frame.
Frequently Asked Questions (FAQ)
What is the difference between an island and a bridge in laser cutting?
An island is a completely enclosed, disconnected interior piece of geometry (such as the middle of an ‘O’) that falls out when cut through. A bridge is a positive structural tab of material that connects the island to the main surrounding sheet, keeping it anchored in place.
Can I automatically bridge fonts in LightBurn without drawing rectangles?
LightBurn has a tabs (bridges) feature for cut paths. Check the current LightBurn documentation for how to place tabs manually or automatically and set their size.
Why did my thin stencil bridges scorch and snap during the cut?
Bridges snap when the laser spot burns away material from both sides of the tab. Kerf removes material on both sides of a narrow bridge, so the real wood left can be thinner than the drawing. Measure your machine’s kerf and add some extra width to your bridges to compensate.
1 thought on “Score, Engrave, or Cut Through: How to Fix Islands, Bridges & Vector Dropouts”