Disclosure: This post contains affiliate links. If you make a purchase, we may earn a commission at no extra cost to you.
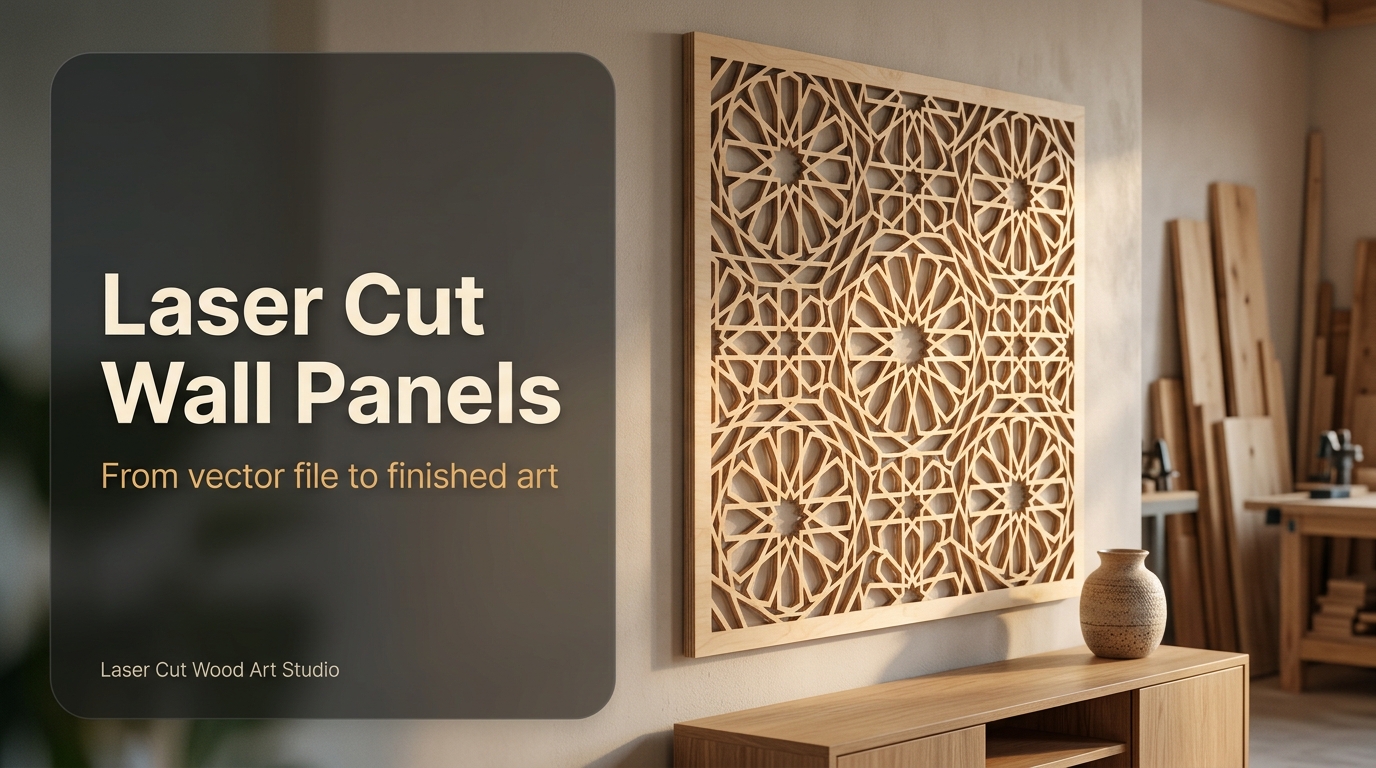
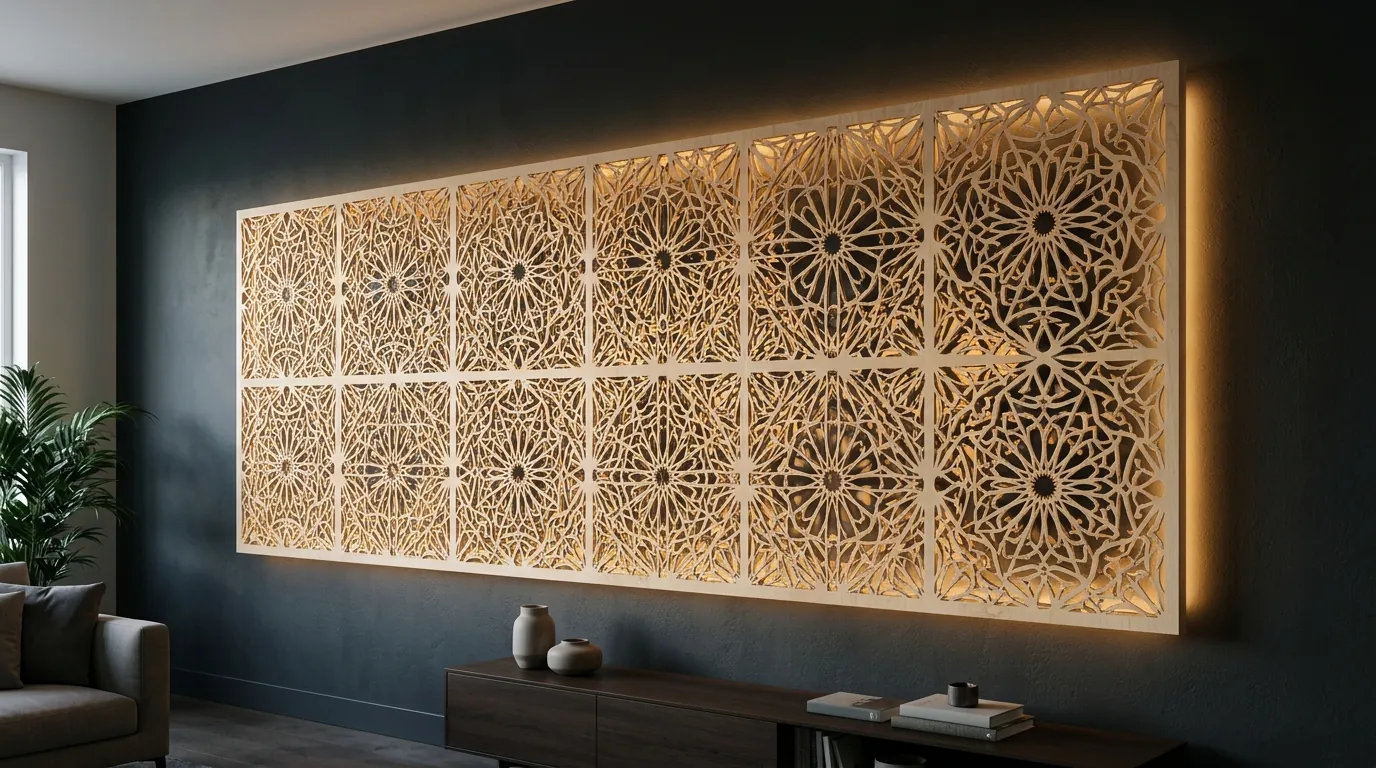
Decorative laser-cut wall panels and geometric lattice screens are popular products for maker shops. Customers look for intricate Islamic geometric art, botanical fretwork, and mid-century modern partition screens. Yet, scaling up from small coasters to a 600 x 1200 mm architectural wall feature introduces mechanical challenges that ruin expensive sheets in minutes.
When you cut hundreds of delicate cutouts across a single sheet of plywood, you release internal timber stresses. The sheet bows upward into the path of your laser nozzle, micro-bridges snap under handling, and standard water-based stains warp the finished lace-like fretwork into unusable firewood.
Producing flat, rigid, and pristine architectural wall art requires a deliberate engineering workflow. Here is the step-by-step procedure to transition from a digital vector design to an installed architectural panel.
1. Vector Preparation: The Physics of Bridge Thickness
The visual appeal of architectural panels comes from negative space, but structural integrity depends entirely on positive wood webs (bridges). If your bridges are too narrow, the workpiece vibrates under the air assist jet, causing ragged edges and snapped links during handling.
These are common rules of thumb, not fixed standards. Treat them as starting points and test on your own material before assigning toolpaths:
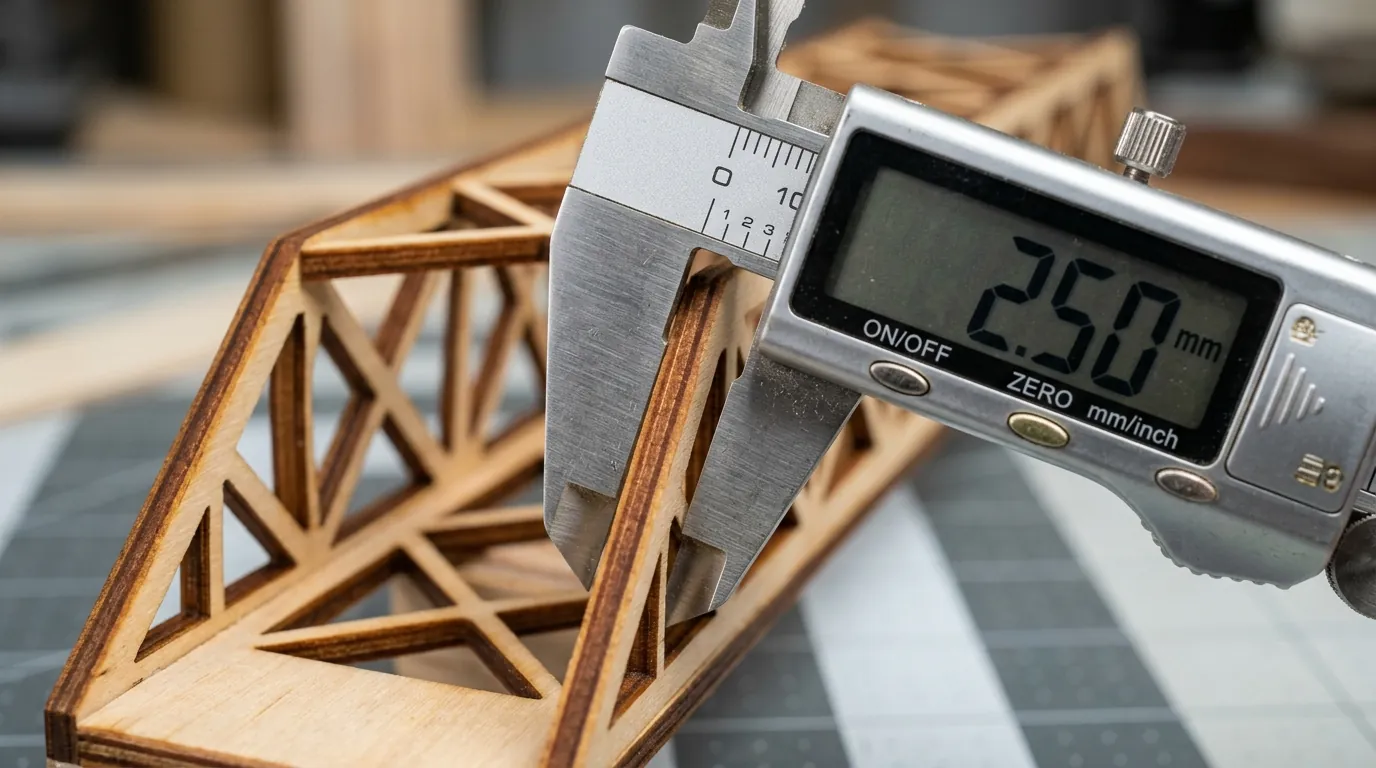
- Minimum Bridge Width: For 3 mm to 4 mm Baltic birch or MDF, many makers avoid bridge widths below roughly 2.5 mm between adjacent cutouts. For softer woods like poplar or basswood, a wider bridge of about 3 mm or more is a safer starting point.
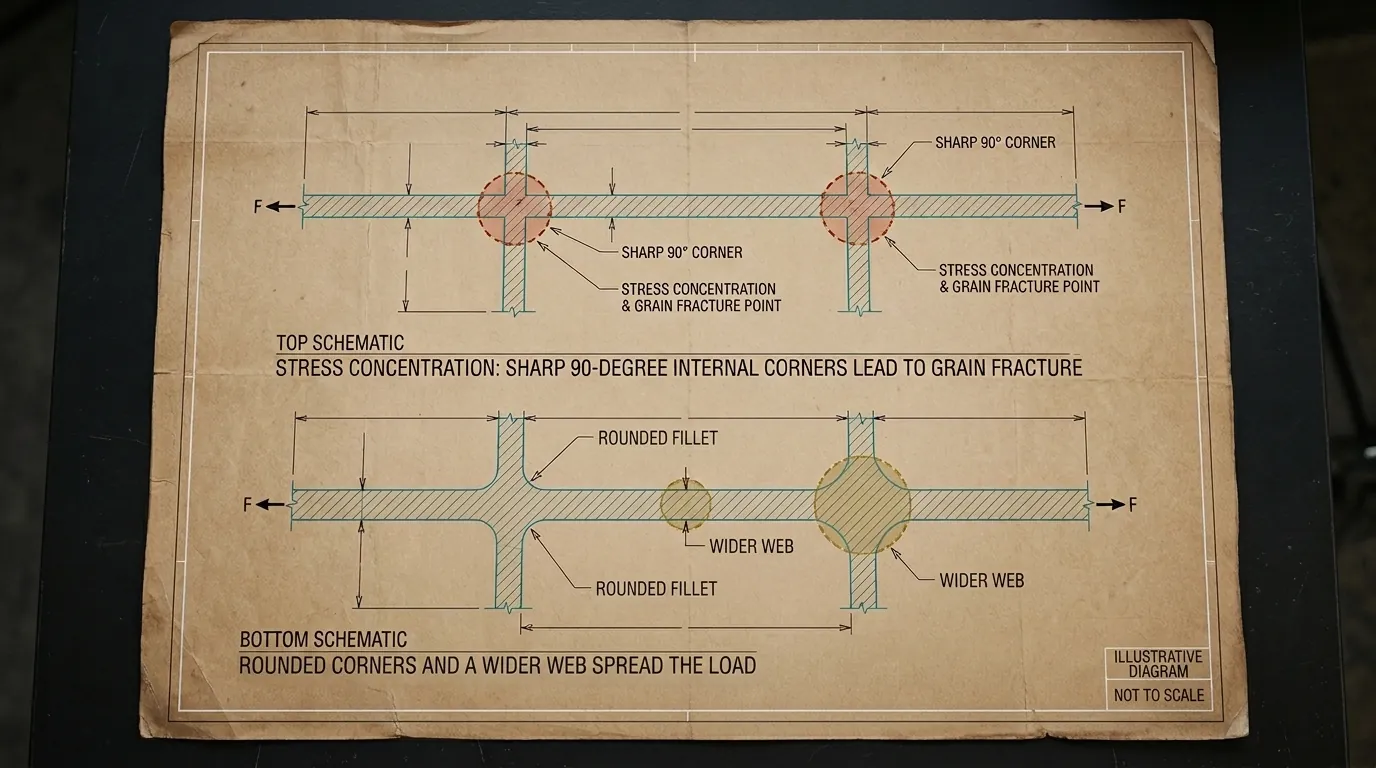
- Inner Corner Radii: Sharp 90-degree internal corners act as mechanical stress risers. Adding a small fillet radius (a fraction of a millimeter or more) to internal corners spreads the stress and helps reduce cracking when the wood expands and contracts with humidity.
- Boundary Margins: Leave a solid outer border, often around 25 mm or more, around the entire perimeter. This perimeter acts as a rigid picture frame, keeping delicate center geometry aligned and providing flat mounting surfaces for French cleats or standoffs.
2. Material Selection: Plywood vs. Premium HDF
The choice between natural veneer plywood and high-density fiberboard (HDF/MDF) defines your production speed and post-processing routine.
| Substrate | Dimensional Stability | Laser Cutting Speed | Recommended Finish |
|---|---|---|---|
| Baltic Birch (3mm – 6mm) | Moderate (requires hold-down pins) | Moderate (requires strong air assist) | Clear satin lacquer, oil stains, natural wood waxes |
| Laser-Grade Poplar (4mm) | High (very flat, low tension) | Fast (cuts cleanly at high feed rates) | Solid opaque paint coats (covers natural greenish streaks) |
| Refined HDF / Medite MDF (3mm – 6mm) | High (no natural grain; stays flat if kept dry) | Slow (denser binder resin absorbs more energy) | High-build primers, matte architectural spray enamels |
For panels intended for natural wood finishes, Baltic birch is a popular choice because of its natural grain pattern. However, for painted decorative screens (matte black, gold leaf, or crisp white), laser-grade MDF is a common choice because it has no grain direction and tends to stay flat.
3. Overcoming Bed Size Limits: The Pass-Through Technique
Most hobby and mid-range laser cutters feature bed dimensions around 400 x 600 mm or 500 x 700 mm. To produce a full-height 1800 mm wall privacy screen, you must utilize a machine with front-to-back pass-through slots.
Executing an invisible continuous pass-through cut requires precision registration indexing:
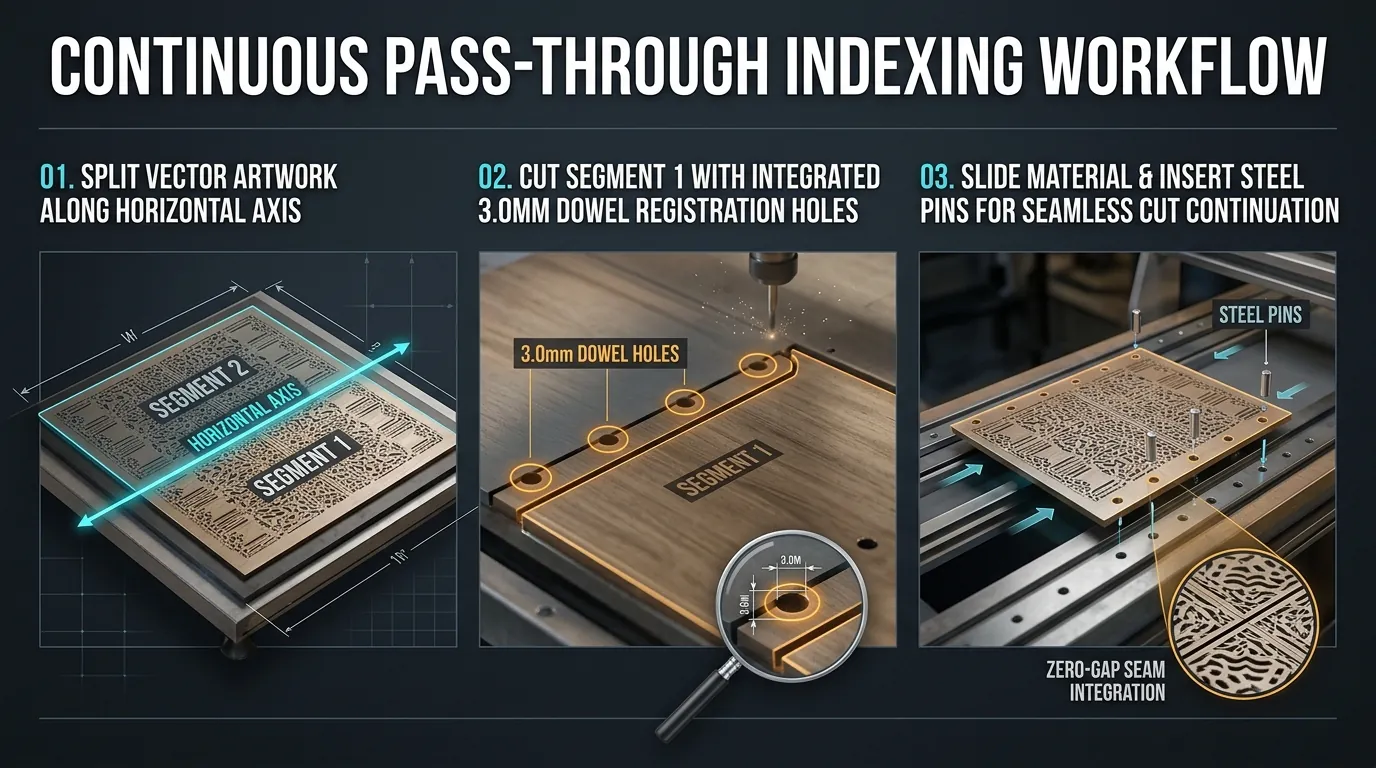
- Split the Cut Vector: In LightBurn or your CAD tool, divide the long decorative pattern into segments that match your laser’s active Y-axis travel minus 50 mm for safety buffer.
- Add Registration Index Holes: Place two 3.0 mm circular holes in the waste margin outside your finished panel border on both sides of the seam.
- Cut Phase 1: Run the first section of your vector art, including the two index holes.
- Slide and Pin: Slide the long sheet through the pass-through slot. Insert two 3.0 mm steel dowel pins through your previously cut index holes directly into matching holes cut into a sacrificial honeycomb waste spoilboard.
- Cut Phase 2: Resume cutting the second segment. The mechanical dowel pins lock the sheet into sub-millimeter alignment, ensuring cut paths merge seamlessly without noticeable steps.
Large panels: Some larger machines have pass-through slots that allow longer workpieces. Check each machine’s specifications and safety guidance, and never leave a running laser unattended.
4. Heat Distribution and Thermal Warping Control
When cutting intricate panels with high feature density, hundreds of localized laser fires concentrate massive thermal energy into small sections of the sheet. If you cut all adjacent shapes consecutively in one corner, that corner heats up, expands, and cups upward.
Mitigate thermal distortion using smart sequencing:
- Optimize Cut Path Order: Inside LightBurn’s Optimization Settings, enable Cut Inner Polygons First and choose Order by Priority / Cluster. Avoid pure left-to-right progressive sweeps that build an escalating heat wave across the sheet.
- Active Mechanical Hold-Down: Use low-profile plastic cam clamps or honeycomb bed pins spaced every 150 mm along the perimeter. Gravity is insufficient once internal stresses release.
- Sustained Air Assist: Keep air assist running at the airflow your machine’s manufacturer recommends. Clearing vaporized charcoal instantly cools the localized kerf walls and prevents heat buildup.

5. Finishing Protocol: Stain Without Warping
Applying standard runny, water-based DIY wood stains onto thin 3 mm or 4 mm laser-cut lace is a recipe for disaster. The thirsty end-grain fibers inside the thousands of laser-cut holes absorb water unevenly, causing the delicate screen to curl violently within ten minutes.
Follow this professional cabinetmaker finishing sequence:
- Pre-Sand Flat Stock: Sand the entire sheet with 220-grit sandpaper on a random orbital sander before laser cutting. Sanding thin filigree bridges after cutting risks snagging and snapping delicate wood fibers.
- Use Solvent or Gel Stains: Choose oil-based penetrating wiping stains or thick polyurethane gel stains. Oil and solvent carriers evaporate without swelling the cellular wood matrix.
- Foam Roller Application: Pour a small puddle of stain into a tray and load a high-density flock-foam roller. Roll out the excess until the roller is almost dry, then pass it gently over the panel face. This deposits rich color onto the veneer face without flooding the laser-cut edge walls.
- Dual-Sided Sealing: Always seal both sides of the panel. If you spray two coats of lacquer on the front, you must apply at least one coat to the back. An asymmetrical finish invites humidity absorption on the unsealed face, leading to seasonal bowing.
Frequently Asked Questions (FAQ)
How do I mount large delicate laser-cut panels to a wall without visible screws?
The cleanest mounting method is using a rear spacer subframe paired with a hidden French cleat. Glue a recessed 12 mm wooden strip frame 20 mm inside the outer border on the back of the panel. Attach an aluminum or wooden French cleat to the top strip. This allows the panel to float 15 mm off the wall, casting striking depth shadows while hiding all fasteners.
Can I make exterior privacy screens with 3mm plywood?
No. Interior-grade 3 mm plywood is a poor choice outdoors: moisture can make it swell, warp and delaminate even with a finish. For exterior garden screens or patio dividers, use 6 mm to 9 mm marine-grade okoume plywood, compact laminate (HPL), or 4 mm laser-cut aluminum composite material (ACM).
Why did my laser head catch and drag across the panel mid-cut?
As intricate internal cutouts separate from the sheet, small waste pieces can tip upward into the honeycomb openings. If a small cutout tilts up by 5 mm, a moving laser nozzle can crash into it, causing stepper motor stall and lost positional steps. In LightBurn, enable Avoid Traveling Across Holes and use honeycomb bed pins to keep the sheet clamped flat.