Disclosure: This post contains affiliate links. If you make a purchase, we may earn a commission at no extra cost to you.
You purchase a laser cut project file from a digital marketplace, download the ZIP archive, and drag the SVG or DXF directly into your laser software.
Instantly, things go sideways.
The file imports at the wrong size, shrinking a 300 mm wall clock into a 75 mm miniature. Cut paths that looked sharp in the product thumbnail are rendered as hundreds of disconnected, open vector fragments. When you hit Start, the laser head jitters erratically across the bed, re-cutting the same perimeter three times in a row and charring your expensive sheet of Baltic birch.
Beginners assume the digital artist sold them a defective vector file. In reality, most vector translation errors stem from the fundamental differences between graphic design files and CNC machine toolpaths. Graphic design software cares about visual appearance on an RGB screen. Laser controller software cares about mathematical continuity, cutting order, vector closure, and physical metric units.
Here is the workshop engineering guide to opening, diagnosing, repairing, and optimizing SVG and DXF vector files in LightBurn, xTool Creative Space (XCS), and Glowforge Print with zero errors.
SVG vs. DXF: Choosing the Right Format for Laser Cutting
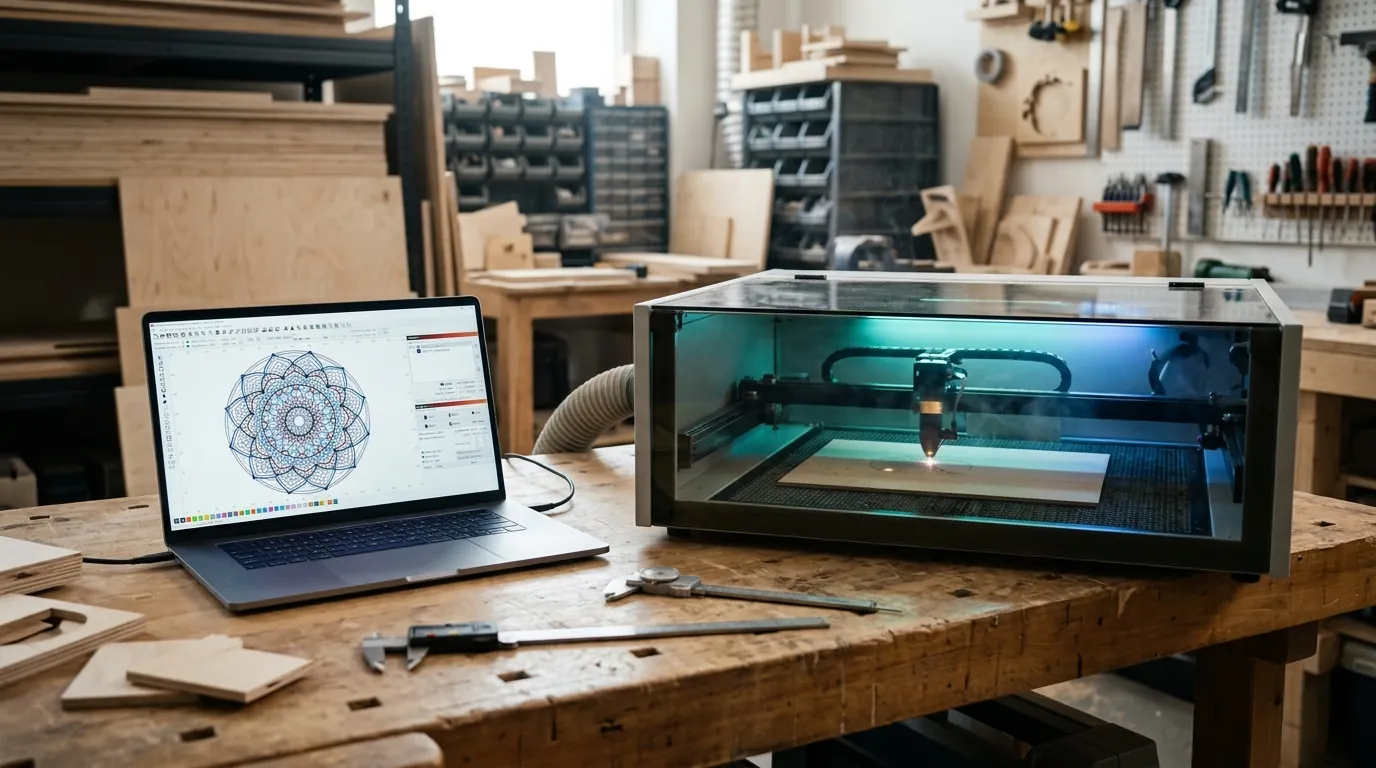
Before clicking Import, understand how your laser interprets the two primary 2D file standards:
| Feature | Scalable Vector Graphics (SVG) | Drawing Exchange Format (DXF) |
|---|---|---|
| Native Origin | Web graphic design & illustration (Inkscape, Illustrator) | Mechanical engineering CAD (AutoCAD, Fusion 360, SolidWorks) |
| Color & Layer Mapping | Superior: Retains RGB stroke/fill colors, automatically assigning tool layers | Limited: Often imports as a single merged monochrome vector layer |
| Scale Precision | Subject to DPI translation errors (72 vs 96 DPI headers) | Absolute: Pure metric coordinates; 100.0mm is always 100.0mm |
| Curve Geometry | Smooth cubic Bezier spline curves | Smooth splines or fragmented segmented polylines (R12/R14) |
| Best Application | Layered 3D mandalas, signage, multi-color craft art | Interlocking finger-joint boxes, precision mechanical gears |
Rule of thumb: Use SVG for multi-colored, layered crafts, signs, and engravings. Use DXF for mechanical parts, jointed finger-tab boxes, and architectural assemblies where physical slot tolerance is paramount.
The 96 DPI vs. 72 DPI Scaling Trap (And How to Fix It)
If your cut file imports too small or too large, never attempt to eyeball the scale using the corner drag handles.
The discrepancy is caused by resolution mismatch across vector software:
- Inkscape standard: 1 inch = 96 pixels.
- Illustrator legacy standard: 1 inch = 72 pixels (creating a 25% shrinkage when imported into 96 DPI systems).
- Illustrator web export: Often assumes 72 or 300 DPI depending on artboard export presets.
How to get a 1:1 metric scale on import:
- In LightBurn: Go to Edit → Settings → File Settings. Locate the SVG Import section. Set the SVG DPI to match the program that exported the file (96 DPI for current Inkscape files; check the options your LightBurn version lists). Enable “Load Default Layer Settings on Import”.
- In xTool Creative Space (XCS): When importing SVGs generated in older Illustrator versions, check the dimensions against the included design PDF or scale reference box. If no dimensions are given, verify the kerf test slot with your digital caliper.
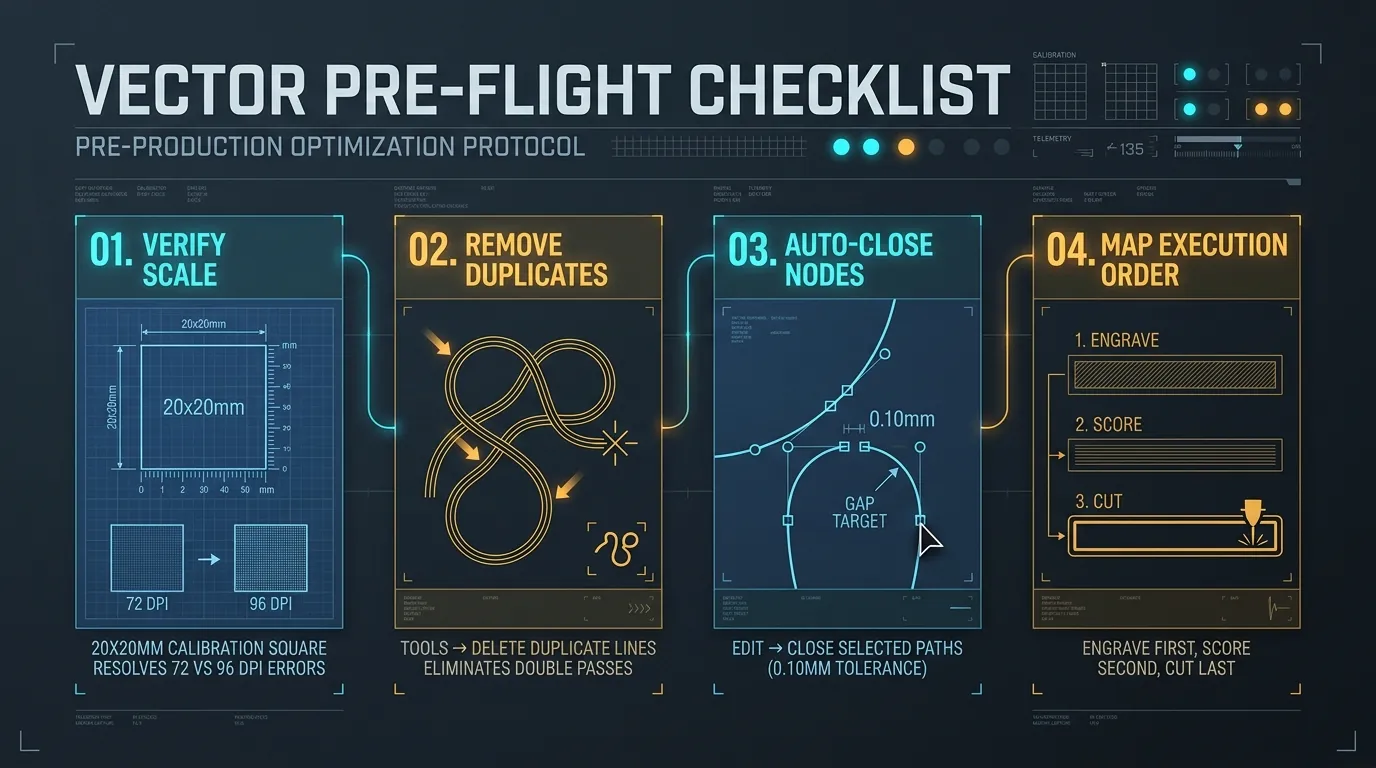
- The Calibration Square Rule: Many vector designers include a 20 x 20 mm or 1 x 1 inch reference square inside the file margins. Once imported, select the square. If it reads exactly 20.00 mm, your entire file is scaled correctly. Delete the square before running the job.
Diagnosing and Repairing Open Nodes and Disconnected Paths
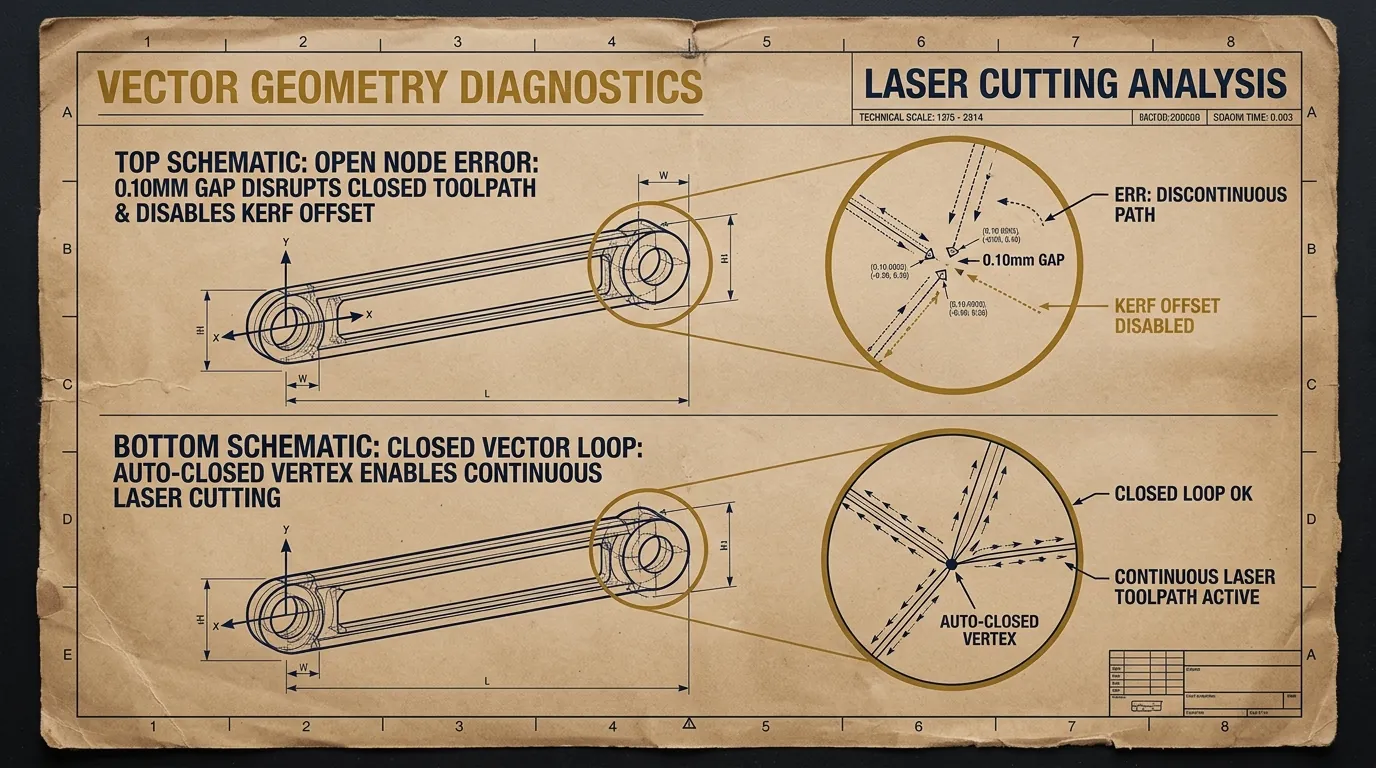
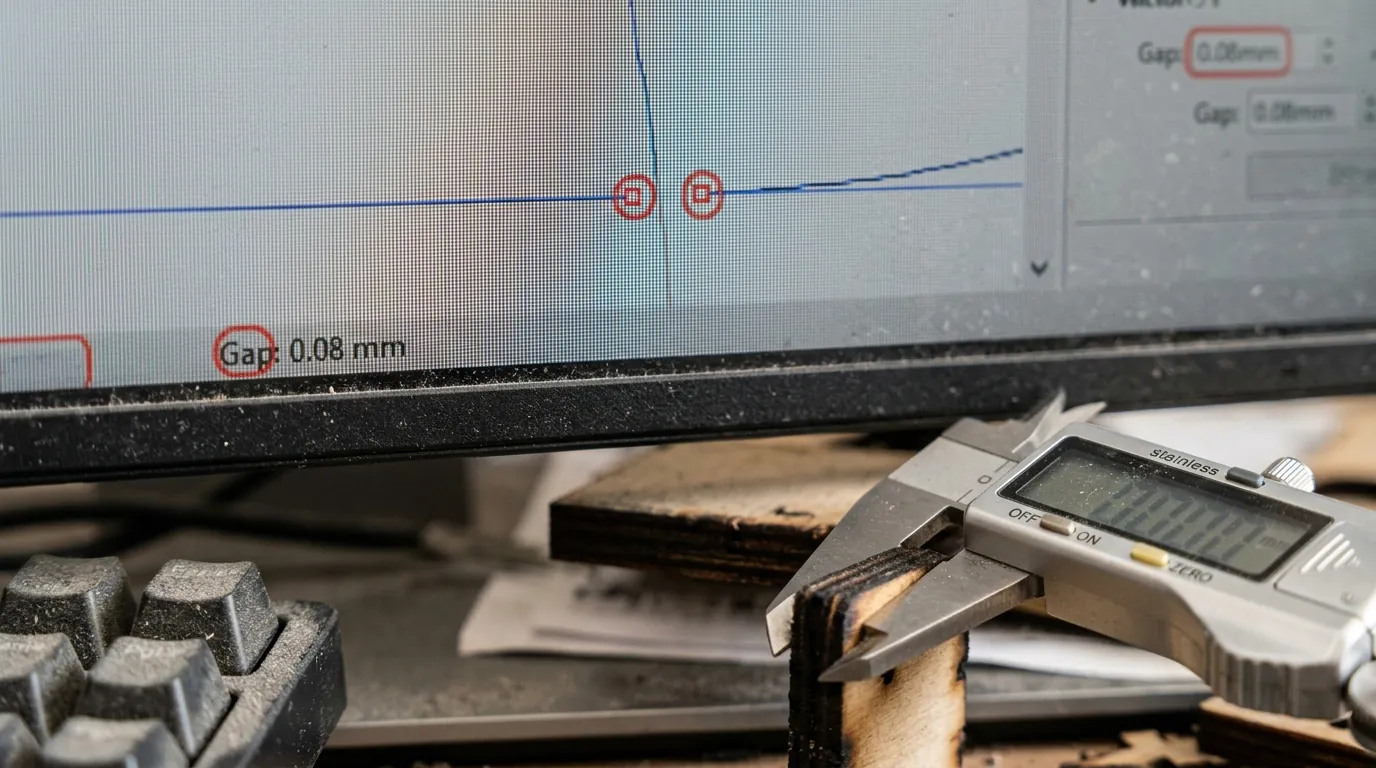
A laser requires closed loops to cut out individual parts. If a vector shape has an open node gap of just 0.05 mm, your software cannot recognize it as an enclosed polygon. It will treat it as an open line stroke, disabling automatic kerf offset and preventing interior raster filling.
How to locate and close open vectors in LightBurn:
- Auto-Close Tool: Select the imported shapes. Click Edit → Close Selected Paths with Tolerance. Set the tolerance to 0.10 mm. LightBurn scans the vector vertices, connects adjacent endpoints, and converts the loose fragments into a single continuous cut loop.
- Locate Open Paths: To find rogue open vectors instantly, click Edit → Select Open Shapes. If any lines highlight, you must inspect them before cutting.
- Manual Node Editing: Switch to Node Edit mode. Zoom in on problem corners. Open nodes appear as small green or red endpoints. Hover over an open endpoint, drag it directly over the neighboring node until it snaps, or select both nodes and use the join command to merge them into a unified line.
Software note: LightBurn is a paid third-party program that supports many laser controllers. Free alternatives exist for some machines, such as LaserGRBL. Check that a program supports your controller and read the license terms before you buy.
Eliminating Double Lines and Overlapping Vectors
One of the most dangerous defects in commercial digital files is the presence of duplicate overlapping vectors. This happens frequently when artists trace bitmaps or forget to delete duplicate outlines.
When the laser encounters a double line:
- It cuts the exact same trench twice in immediate succession.
- The repeated thermal pulse overheats the wood, turns the edges black with charcoal, and risks igniting open flames on the honeycomb bed.
How to remove duplicates automatically:
- In LightBurn: Select all artwork. Go to Tools → Delete Duplicates. LightBurn removes redundant overlapping vectors, keeping only single toolpaths.
- Optimize Cut Path: Open Optimization Settings in the laser panel. Check Remove Overlapping Lines and set Reduce Direction Changes. This forces the laser to follow a logical, continuous perimeter rather than jumping randomly between duplicate segments.
Layer Mapping Workflow: Cut vs. Score vs. Engrave
Never send a multi-operation job to the machine without verifying toolpath hierarchy. Establish this universal color-coding discipline in your shop:
- Black Layer (00): Vector Cut (High power, low speed). Cuts the outer perimeter and through-holes.
- Blue Layer (01): Vector Score (Low power, high speed). Fast line marking for decorative borders, geometric accents, and alignment guides.
- Red Layer (02): Raster Engrave (Fill mode). High-speed scanning for solid text, dark fills, and photographic illustrations.
Always set your software cut priority to run operations in this sequence:
- Raster Engraving first: The material is fully anchored, flat, and undisturbed.
- Vector Scoring second: Adds crisp outlines while the sheet remains structurally rigid.
- Inner Vector Cuts third: Drops internal cutouts, slots, and decorative holes.
- Outer Silhouette Cut last: The finished parts finally separate from the main sheet stock.
If you cut the outer silhouette first, small pieces shift slightly on the honeycomb ribs under air assist pressure, throwing off subsequent engraving and internal cut precision.
Frequently Asked Questions (FAQ)
Why does my imported SVG have missing text?
If a digital artist typed text using a commercial font on their computer without converting the typography into vector paths (outlines), your laser software cannot display the letters unless that exact font is installed on your machine. Always ask designers for files with text converted to paths (Create Outlines / Ctrl+Shift+O), or vectorize text yourself before exporting.
Can I open an Adobe Illustrator (.AI) file directly in LightBurn?
Yes. LightBurn can open native Adobe Illustrator (.AI) files directly, provided the AI file was saved with the “Create PDF Compatible File” option checked during save. If this option was unchecked, export the file as an SVG or DXF instead.
What tolerance should I set for auto-closing open nodes?
A small tolerance such as 0.05 mm to 0.10 mm is a common starting point. Setting the tolerance too high (e.g., 1.0 mm) risks accidentally bridging narrow filigree gaps and distorting intricate vector art corners.